This guide is a hands-on walkthrough of AVScript from first launch to a finished edit — and through Story AI. Work through it top to bottom, checking off each item as you go. You don’t need to finish it in one session; your browser will remember which boxes you checked.
Part 1
The Editor
Importing, editing, keyboard navigation, the filmstrip, the timeline, trimming, splitting, and exporting. Everything you need to build an assembly cut.
Step 01
Open a Library, Then a Project
AVScript organises your work in two layers: a Library (a collection of related projects) and Projects inside it. You always open the Library first, then pick or create a project from within it.
Tip: A Library is like a folder for a whole show or client — keep all episodes of the same project in one Library so they share the same media pool.
Step 02
Import Your Media
Load video files into the Media Bin. Supported formats include MP4, MOV, MXF, ProRes, MP3, and WAV.
Tip: Files imported here are stored locally in your project. To make them available for Story AI processing, you’ll need to upload them to the server — see Step 04.
Step 03
Import an XML / FCPXML
Already have a rough cut in Final Cut Pro, DaVinci Resolve, or Premiere? Bring it in directly — no rekeying.
Step 04
Upload Files to the Server
Server-uploaded files stay in cloud storage permanently — this is what Story AI processes. Upload once, access forever.
Important: Only server-uploaded files can be processed by Story AI (Transcription, Emotions, Visual AI). Local-only files can be used in the editor but cannot be sent through the AI pipeline.
Step 05
TAB — Switching the Active Panel
AVScript has three panels: Media Bin, Clip List, and Timeline. Only the active panel responds to navigation keys. TAB switches between them.
Why this matters: If ↑↓ or Space are not doing what you expect, check which panel has the orange border. The same key does different things in each panel — by design.
Step 06
Keyboard Shortcuts
AVScript is designed to be controlled entirely from the keyboard. Here is the full reference.
Global — work in every panel:
Key
Action
J
Shuttle backward (×0.25 → ×0.5 → ×1 → ×2 → ×4 — press again to speed up)
K
Stop shuttle / pause
L
Shuttle forward (same speed ramp as J)
I
Set In point at current frame
O
Set Out point at current frame
← →
Step ±1 frame
Shift + ← →
Step ±10 frames
Cmd/Ctrl + S
Save project
Escape
Close modal / dismiss context menu
Media Bin (TAB until the Bin has the orange border):
Key
Action
↑ / ↓
Select previous / next clip in the bin grid
Space
Load selected clip into the player and play it
← →
Step ±1 frame (precise source scrubbing)
Clip List (TAB to activate):
Key
Action
↑ / ↓
Select previous / next clip in the script list
Space
Smart play: stop shuttle → stop sequence → play from playhead → toggle video
E
Add selected clip to the Timeline
Enter
Open clip details modal
Backspace / Delete
Delete selected clip from the list
Timeline (TAB to activate):
Key
Action
↑ / ↓
Jump to previous / next cut
Space
Smart play sequence
S
Split clip at current playhead position
E
Add clip from current In/Out points
M
Add a marker at the current frame
W
Insert a 5-second black slug at the playhead
[
Trim clip start to current playhead
]
Trim clip end to current playhead
Cmd/Ctrl + =
Zoom in on the timeline
Cmd/Ctrl + -
Zoom out on the timeline
Enter
Open clip details modal
Backspace / Delete
Delete selected clip
Step 07
The Filmstrip
The filmstrip runs below the video player and gives you a visual timeline of the currently loaded clip — with your In/Out range highlighted.
Filmstrip — Interview_CEO_4K_001.mov
00:00
00:30
01:00
01:30
02:00
02:30
03:00
03:30
04:00
04:30
00:00:00;00I 00:01:22;08 → O 00:02:47;1200:04:58;00
Step 08
Media Bin Settings
Click the Media Bin heading label to open the clip settings panel on the right side. This is where you control how each clip behaves in the editor — including the colour it uses when you make an In/Out selection in the timeline.
Tip: Assign colours before you start editing — it takes 2 seconds per clip but saves a lot of hunting once your timeline fills up.
Step 09
Text Video Editor — Edit from the Transcript
Select words in the transcript, get precise IN/OUT points automatically. No timecodes to write down. No scrubbing to find the line.
This also works on multicam: if the source clip is from a multicam sequence, the extracted clip arrives in the timeline already linked to its multicam context — ready for angle switching.
Step 10
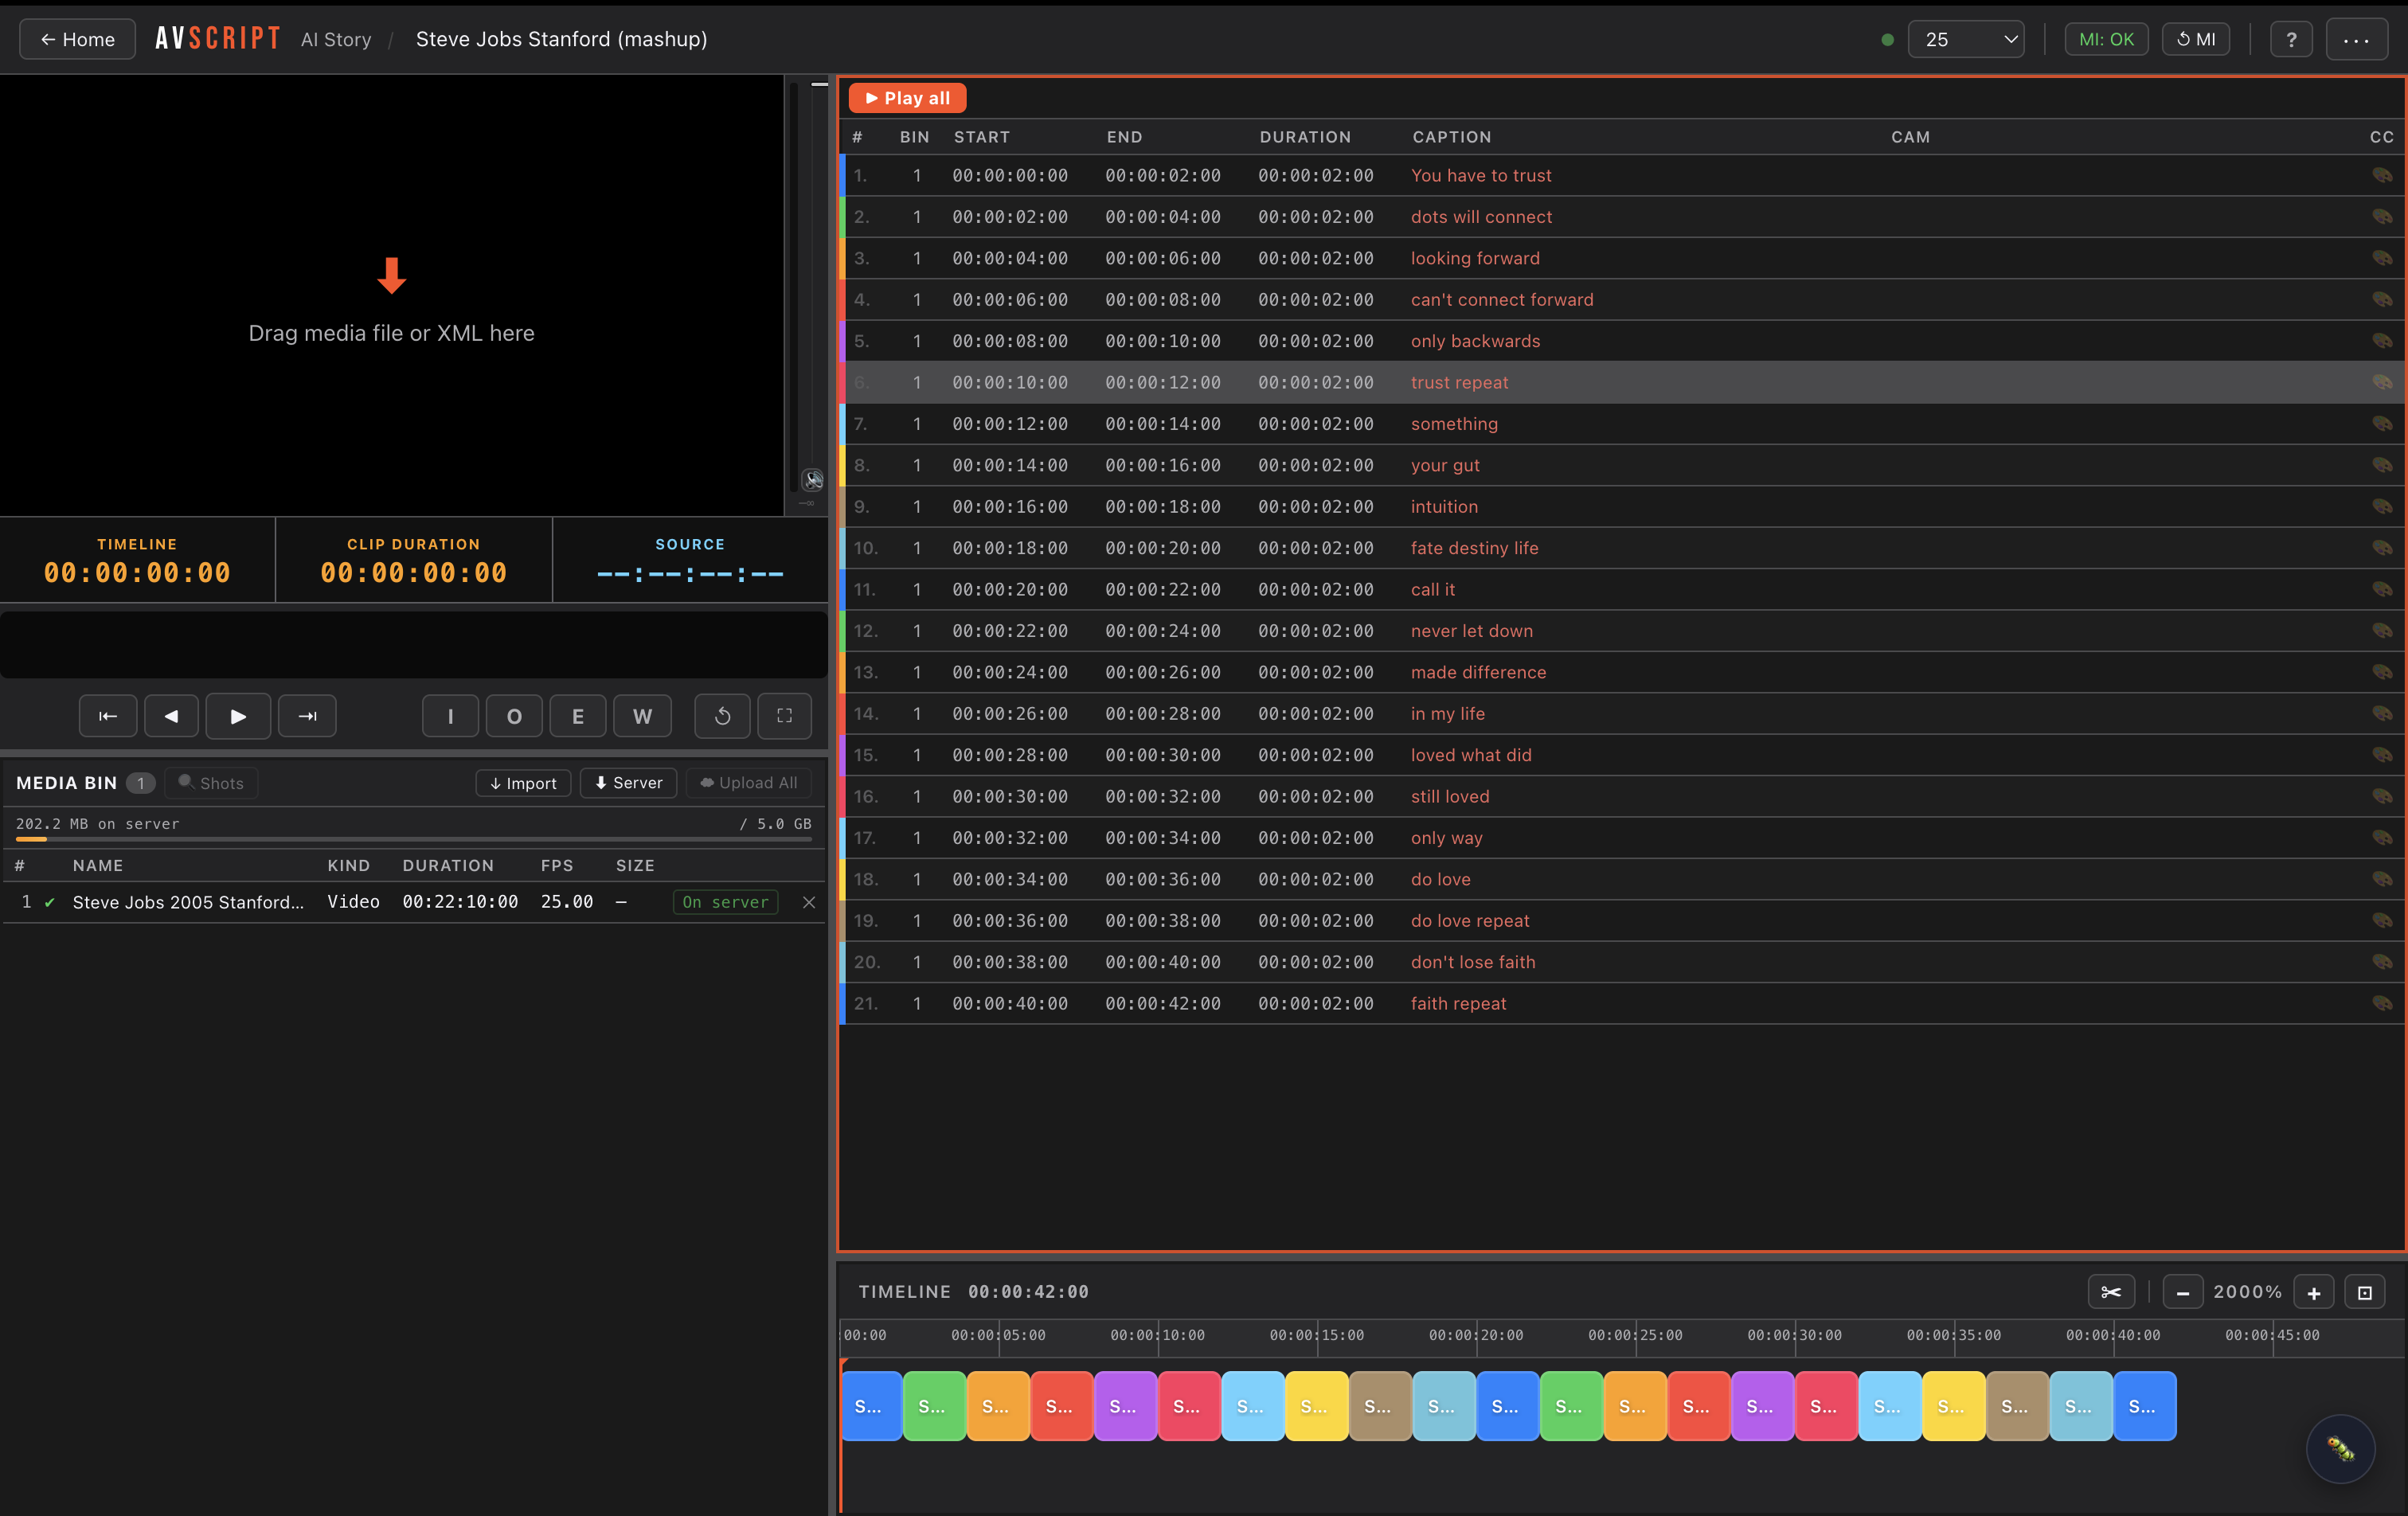
The Timeline
The horizontal timeline at the bottom of the screen is your assembled edit. Each block is a clip in order — play them as a sequence, jump between cuts, reorder.
CEO Opening · 00:02:14 – 00:02:47
B-Roll Office
CEO Growth Quote · 00:05:33
Crowd
00:00:0000:00:2000:00:4000:01:0000:01:20;07
Step 11
Drag & Drop — Script List and Timeline
Everything in AVScript can be reorganised by dragging. From bin to script, from script to timeline, within the timeline.
Step 12
Click a Clip — Source Always in the Bin
No matter where you are in the edit, clicking any clip always loads the original source video in the bin player. You never lose track of what you shot.
Why this matters: On a long interview you often need to verify what’s just before or after a selected line. The bin always shows the full source — not the trimmed version — so you can check context without any extra clicks.
Step 13
Trim with Brackets in the Timeline
The fastest way to tighten a clip in the timeline is to position your playhead and press a bracket key. No mouse dragging required.
Step 14
Zoom In / Zoom Out on the Timeline
Zoom in for frame-accurate work, zoom out to see the full edit.
Step 15
Split a Clip
The S key splits a clip at the exact playhead position — creating two independent clips you can trim, delete, or reorder separately.
Step 16
Export as PDF Script
Export your assembled clip list as a formatted PDF — useful for paper edits, director reviews, and client approvals.
Step 17
Export to your NLE
Choose the right export for your NLE. Your assembly cut opens with every clip, description, and timecode intact — no re-logging, no retyping.
Part 2
Story AI
Upload footage, configure your AI pipeline, run the analysis — then chat with your footage. Search by emotion, content, and speech. Build projects from a prompt.
Before you start: Story AI requires credits (AI minutes). Check your balance at Settings → Story AI → Credits. You can purchase additional minutes there. For details on how pricing works see Build Your Pipeline. Own Your Story →
Step 01
Configure Your Pipeline
Before running any AI job you need to activate a pipeline configuration — which services to run and in what combination. You only need to do this once, or whenever you want different results.
🎙 Transcribe
3 services
💜 Emotions
1 service
👁 Visual
2 services
✓
TranscriptionSpeech → text · word-level timestamps · 99 languages · FOUNDATION
€0.0072/min
Speaker DiarizationWho speaks when — automatic labelling per segment
€0.0048/min
✓
TranslationTranslates transcript to 30+ languages · DeepL Pro
€0.0108/min
✓ Activate pipeline — save this configuration
Start lean: If you’re trying Story AI for the first time, activate only Transcription. It costs the least and unlocks the core feature: the chat and the text search. Add Emotions and Visual AI later once you know what your footage needs.
Pipeline changes take effect on the next job: Activating a new configuration does not reprocess old footage. The new pipeline applies to the next Story AI job you run. If you want Emotions on footage you already transcribed, you need to re-run the job with Emotions enabled.
Step 02
Check Your Credits Balance
Story AI jobs consume AI minutes from your credits balance. Check what you have before running a long job.
Step 03
Upload Your Footage to the Server
Story AI needs your video files on the AVScript server. If you already uploaded them in Part 1 Step 04, they’re ready — skip to Step 04.
Step 04
Run the Story AI Job
With your pipeline configured and footage uploaded, you’re ready to run the analysis. AVScript sends the video through each enabled service and stores every result.
Sandbox mode: Before running on your full footage, try the Sandbox checkbox — it runs the pipeline on only the first 2 minutes of the video so you can verify the results before committing credits to the full run.
Step 05
Chat with Your Footage
Once the job is complete, the AI chat is unlocked. Ask questions about the footage in plain language — it understands transcript content, emotions, and visual descriptions.
Step 06
Build a Project from Story AI Results
Story AI results aren’t just for searching — you can turn a chat conversation into a complete project with a timeline, script, and FCPXML export.
AI results are permanent: Once a file has been processed by Story AI, the results are stored forever. You can come back months later, open the chat, and search the same footage again — no re-processing required, no additional credits consumed.
You’ve completed the full AVScript workflow. From raw footage to a finished assembly cut — with AI that understands what’s in it. If you haven’t configured your pipeline yet, start there: Build Your Pipeline. Own Your Story →